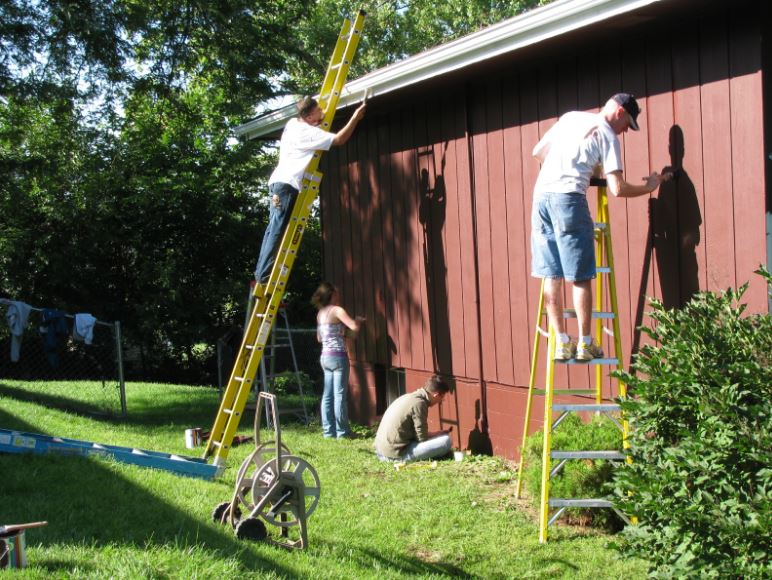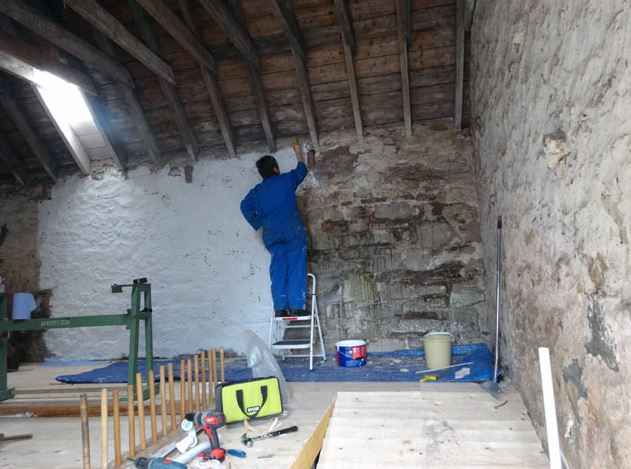
Timber Sheds, Fences, and any other outdoor structure is a consistent battle with our Irish weather. A Timber shed is a great storage facility for all your belongings that you need to store away such as your Lawnmower, Tools, and many other items. Although it is only a way of storing your belongings, the overall look of your shed can affect your home and garden. No one wants to look at an old shabby looking shed in a lovely landscaped garden. A wooden shed that is properly cared for will add great character to your garden and home. Freshly painted in a vibrant colour can be both functional and stylish. Refresh your garden shed and style it up your way.
Read on for some helpful tips on how to paint a timber shed effectively:
The materials that you need
- Stiff Paint Brushes
- Paint Rollers (if necessary)
- Wood Primer
- Exterior Timber Paint
- Masking Tape
- Dust Sheet
- Wire Brush
The Best types of Exterior Timber Paint
- Cuprinol Garden Sheds Wood Paint – the king of exterior wood paint. Comes available in a variety of colours and is long lasting.
- Johnstone’s Woodworks Paint – the best Matt Finish paint for Timber Sheds. It is water based and sits well on sawn timber.

Step by Step guide on how to effectively paint your Timber Garden Shed
Prepare your Shed and Remove all dirt and debris from shed surface
A wire brush should be used to scrape off all the debris and dirt that is stuck to the outer surface of the shed. For an effective clean, you will need to wash the shed. A strong powerful hose here would be a great option. If there are any broken or chipped wood panels this would be the time to replace or repair them. You should allow sufficient time for the wood to dry out before you begin painting the shed.
Cover the surrounding areas
Use Dust Sheets to cover all areas of the ground and garden to protect them in case any paint may splash.
Cover up shed features
Use Masking Tape to cover all exterior features and fixings of the shed including the windows, door handles, and hinges.
 Apply Wood Primer
An Oil Based Wood Primer should be applied before you begin painting the shed. The paint will last a lot longer if you apply a primer first. The primer will add an extra layer of protection against any pests from feeding on the wood. The primer will also help the paint spread more evenly. Remember to let the primer fully dry before applying the paint.
Check the Paint
Before you begin painting, give your paint a good shake and mix this will ensure an even and more consistent colour. If you are using a brush pour the paint into a kettle this will make it easier to hold then a heavy paint can. If you are using a roller, pour the paint into the tray that is provided. If you are using a spray painter, read the instructions as they can differ.
Start your Painting Process
Once your primer has dried properly, you can start your painting process.
Using a Brush or a Roller
Using your brush or roller apply thick even coats of paint along the grain of the timber. Always apply brush strokes in the same direction as the grain. To avoid runs or drips avoid overloading the brush or roller with the paint. Work it in really well and pick up any wet edges before they begin to dry. For any end grains such as tops of posts, it is recommended dabbing with a paintbrush on these areas to ensure the paint soaks into the wood.
Using a Paint Sprayer
Choose which paint sprayer is suited best as they can sometimes differ from each other. For best results when spraying, use long, sweeping, horizontal arm movements. The nozzle should be held 15cm from the surface and move along its full width, then drop down and do the same again, overlapping each pass by 50%. This will ensure that the whole area is covered with the correct amount of paint.
Allow the first coat of paint to dry and if you feel a second is needed this can be applied afterward. Clean all your brushes thoroughly afterward with a paint brush cleaner. Let the paint dry and be proud of your finished product.
